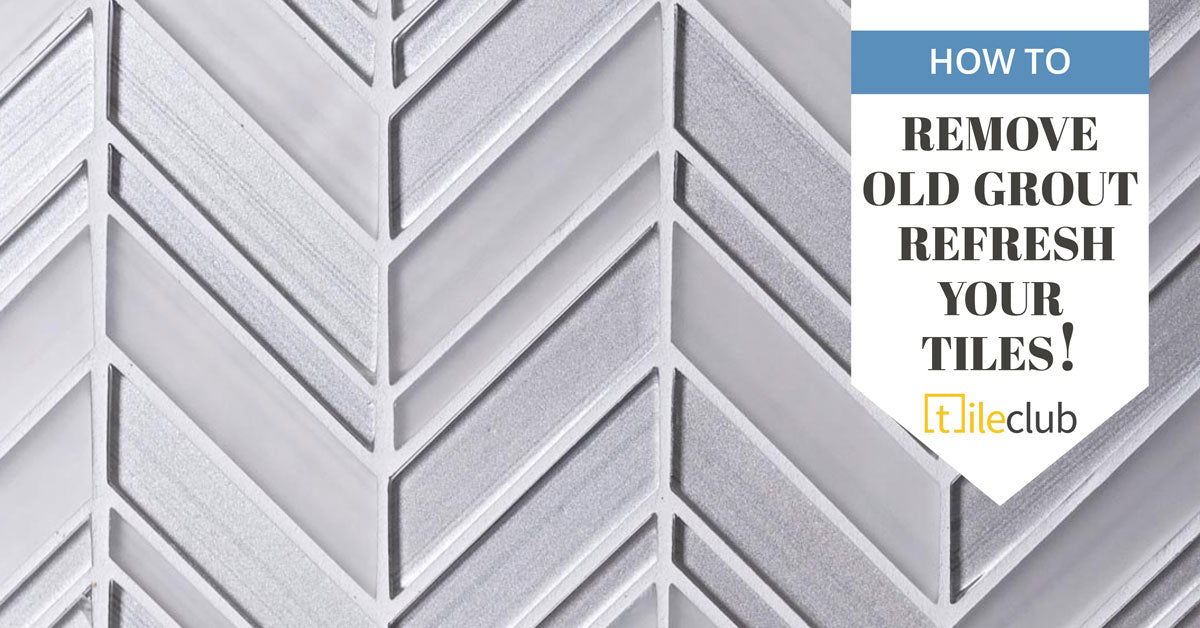
How to Regrout Tile for a Fresh New Look
|
|
Time to read 8 min
|
|
Time to read 8 min
When it comes to design, grout is one of the unsung heroes that can accentuate your tile’s look as well as lifespan. However, grout that looks a bit past its best is the bane of any interior setting; and sadly, the unsightly discolored, broken lines running up the walls are pretty obvious to spot. Luckily, refreshing old grout is a relatively easy process that can extend the life and beauty of your tiled areas! Whether you’re looking to regrout entirely or just want to freshen up your grout lines, we’ve got the best guide to walk you through!
Fixing up grout problems is a simple and cost-effective way to give your surface finish a stylish facelift. This rich, blue-toned La Riviera Blue Reef Ceramic Subway Tile contrasts beautifully with white grout lines to enhance the overall look of the backsplash wall.
In most cases, grout that fills in tile joints is cement-based. Cement is porous, and as a result, it can allow moisture and other substances to seep in over time. When this happens, staining, cracks and more serious issues such as unpleasant black mold may appear — hence, it’s much more noticeable on the areas around the bottom of showers, sinks, baths and windowsills.
Wear and tear from age, water, and discoloration are amongst other things that will ultimately leave your interior space looking a little unloved. Removing and regrouting or “raking out” as it is known, is a task that almost any homeowner can accomplish without the need to pull all the tiles off the wall and start from scratch! It's a much-needed part of home improvement that can keep your tile install looking fresh for years!
Once you've determined it’s time to replace your grout, you'll need to decide if you’re comfortable tackling intermediate DIY tasks — and if you have the slightest doubt about your ability, you may want to leave grout restoration in the hands of a professional.
Before deciding it's time to regrout completely, it is well worth seeing if it is possible to salvage it with some nifty cleaning products and a bit of elbow grease. Cleaning with the right mix of products, reconditioning, recoloring and then color sealing will often work wonders on your old grout!
The success of removing slight marring or discoloration due to dirt really depends on the quality of “grout reviver” products used, as some are better and more longer lasting than others. While tile materials are made to last, the allure of your bathroom wall may come down to how well you maintain your grout. Find the perfect neutral grout to pair with this pink ceramic diamond tile!
If, however, you are past the general touch up stage and removing and replacing the grout is a necessity rather than a preference, note that the process is very much the same for grout lines on floors, walls, and countertops.
What’s more, regrouting offers you the opportunity to explore new colors, which can further transform your overall interior aesthetic! A new grout color will be determined by the type of ambience you’re going for, and whether you’re out to create low or high contrast with your tiles.
Tile Club carries select Laticrete grout kits in both sanded and unsanded finishes, and in a variety of colors. Whether you love the look of classic blue tiles with fresh white grout, want to create a subway tile layout with contrasting grout lines, or want to reduce the appearance of grout lines by matching your tile and finish, you can find a wide range of colors to choose from!
At the start of the grout removal process, it's best to apply some painter’s tape around the edge of each tile in the area you’re working on. This will help to avoid scratching surrounding tiles that still look as stunning as they did on the day they were fitted.
You may also want to cover up anything in the room you don’t want getting dusty, especially if you’re working a large area. For example, kitchen surfaces like worktops, sinks or ranges can be covered with dust sheets. Make sure to put on some protective gloves and wear safety eye glasses while grinding to avoid dust or any rogue pieces of grout from flying into your eye.
The surface area you need to replace will determine the ideal tools that best fits your needs. If you’re removing grout from larger areas say — more than about 30 square feet — then a power tool will need to come into play in order to speed up the process. You have a couple of effective options which will have oscillating or vibrating actions that force the tip of the tool into the tile joint, including grinders, rotary tools, even reciprocating saws.
Work the power tool in one direction, vacuum the grout line then use a chisel or a flat-blade screwdriver to remove any protruding grout. Photo courtesy of Ashley Luciano via The Spruce.
A light-weight multitool (fitted with a carbide-grit grout-removal blade) that oscillates rather than spins is a fantastically versatile option and can be used for a multitude of jobs. The tool’s compact, easy-grip handle makes it easy to control, which is important if you are removing grout from in-between expensive tiles.
Alternatively, you may opt for a smart little tool called a grout rake (which features replaceable grout removal blades covered with super-sharp carbide grit that can be swapped when existing ones wear out) which excels at smaller jobs with 1/4-inch or narrower grout joints. Keeping a chisel or a flat-blade screwdriver close by will help scrape out edges and corners, as well as remove stubborn bits from the grout line.
Firstly, carefully press the oscillating blade into the grout line and move the tool in one direction until the old grout begins to powder. In terms of depth, you typically won't need to remove all of the old grout. At least 2-3mm of existing grout must be removed in order for the new grout to set properly.
Once the grout has been removed, finish things off by brushing out all grout powder and debris from your joint using a stiff-bristle nylon brush — then get a dry or wet vacuum cleaner to hoover up any last traces of dirt or dust.
Before applying new grout, thoroughly wipe down the tiles with a wet cloth to ensure that there aren’t any bits of loose old grout — and leave the surface to dry before you apply new grout.
Today’s grout can be found in a variety colors and textures formulated to bring any kitchen or bathroom space to life. This white tile and dark grout combination is beloved by interior designers like Nate Berkus and Joanna Gaines.
The three main types of grout used for tile joints include:
Not sure which grout is right for your tile? Check out our guide on choosing grout before you proceed!
Use a float to apply and smooth out new grout to fill in tile joints. Photo via The Spruce.
Once you’ve prepped your preferred grout, place a generous amount onto a grout float or spreader and smear it diagonally over a small area of tiles. Make sure it is worked completely into the gaps between the tiles for a consistent, smooth grout line.
Bear in mind that the key to a smooth and uniform grout line lies in correctly mixing powered grout with water. To get the consistency right, use a stirrer to thoroughly mix together ½ of the suggested dry grout to ½ of the suggested amount of water in your bucket until all the powder is dissolved.
As you stir, gradually add more water and powder if necessary, until you achieve a “creamy peanut butter” consistency without any lumps.
To avoid weak and chip-prone joints, let the grout mixture “slake” or rest for about 5 to 10 minutes. Doing so allows the chemicals in the grout to bond and work their magic once applied to the gaps in-between the tiles.
Smooth the excess grout away from the line with the spreader at almost 60-degree angle, until you get a nice, neat edge. It’s best to work in one area at a time and as quickly as you can before the mixture starts drying up. Be mindful of how quickly you wipe off the excess grout and its drying time in order to minimize the amount you have to scrub off later.
Once you’ve filled all the gaps between your tiles with grout, lightly go over the face of the tiles with a damp sponge to smooth down the lines and compact the grout. Allow the grout to dry to a haze, then repeat the process with clean water to lift any residue. Once fully cured - after a period of 48 hours or more - buff the tiles with a dry cloth.
Applying a grout sealant onto new tile joints will create a protective surface to help prevent staining, mold growth, as well as help make the grout easier to clean in the future. Penetrating tile and grout sealers soaks into porous grout and tile materials, helping to reduce their ability to absorb water, bacteria, and stains.
Before wiping off the sealant from the surface of the tile, allow it to soak into the joints. Allow to dry completely before you walk on the tile surface or get the area wet again.
Nothing goes together quite like black and white! This black glass brick tile is pefection with a crisp white contrasting grout! Keep it fresh and clean with a grout sealer.
While the process of refreshing or replacing old grout can be time-consuming and messy, it’ll certainly transform the look of your tiles and your space!


